Life at 1572: crafts
Showing posts with label crafts. Show all posts

Salt Dough Ornaments

Bored one evening at home I was feeling crafty so I decided to google something Jack and I would be able to do.  I came upon Salt Dough Ornaments.  I was a little iffy because I had made ornaments like this when I was younger, and they just never turned out right. I figured it would be fun so I went ahead and gave it a try.  

We literally started them at 7:30 that night.  Here is the recipe.

1 cup salt
1 cup water
2 cups flour

There are several variations on the recipe some saying use boiling water, and some saying use warm water. We just used regular temperature water out of the faucet.  One thing I did do differently was I made up my dough in two 1/4 batches because I was running low on salt, and I wanted to make sure I had enough.  This seemed to work out really well.  

Jack poured the water and salt into a bowl, and gave it a good stir.  Then he poured in the flour and stirred that as much as he could.  Taking the advice from another recipe I sprayed 3 quick sprays of Pam cooking spray into the mixture, and I finished forming the dough into a ball kneading it a few times.  

Jack then helped me roll the dough to 1/4 inch thickness onto an ungreased cookie sheet.  We did this in small batches too.  We then used our Christmas cookie cutters to cut shapes into the dough, and peeled away the extra dough rolling it out onto a new spot on the sheet.  This worked out nicely because the ornaments were already on the cookie sheet, and we didn't need to mess with trying to peel them off the counter to put them on the sheet, and chance wrecking them.  

You could always flour your counters and roll everything out there.  

Take a toothpick or a straw (we used a straw) to poke a hole someplace in the ornament so you can hang it on the tree.  

Once we were finished we put them in a 250 degree oven for 90 minutes, or until they are hard.  Then we took them out and let them cool for a few minutes on the counter.  Then I flipped them over, and stuck them back in the oven to bake for another 60 minutes.  I would say just make sure they don't turn brown, and make sure they get dry.  


You can always let them air dry, but this might take a few days. 


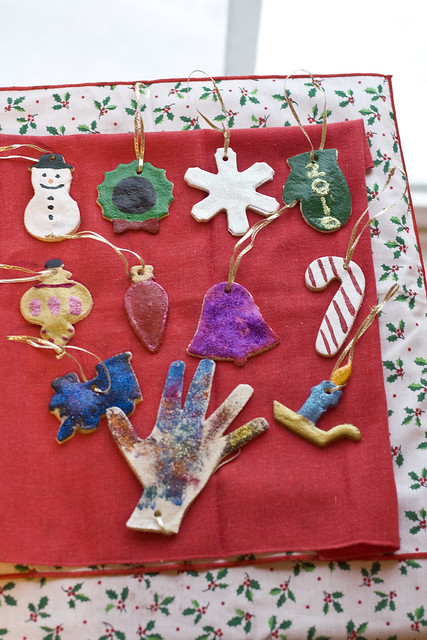
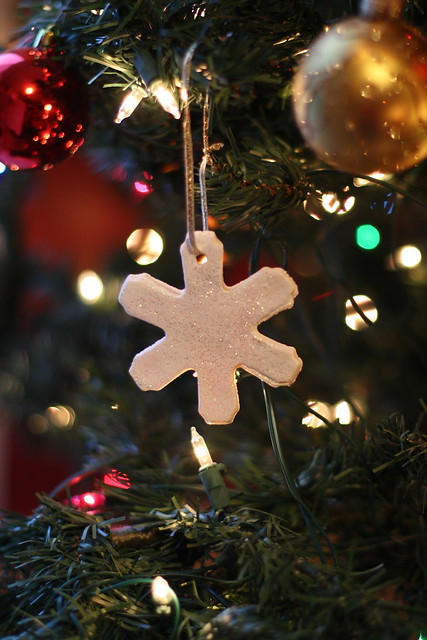
The next day we used acrylic paint, as was advised to paint them, and added some glitter for a sparkly touch.  Beware you and your kitchen may be permanently covered in glitter!  After they dried I sprayed them with a clear coat to help them last longer, and then we stung our ribbons through them.  


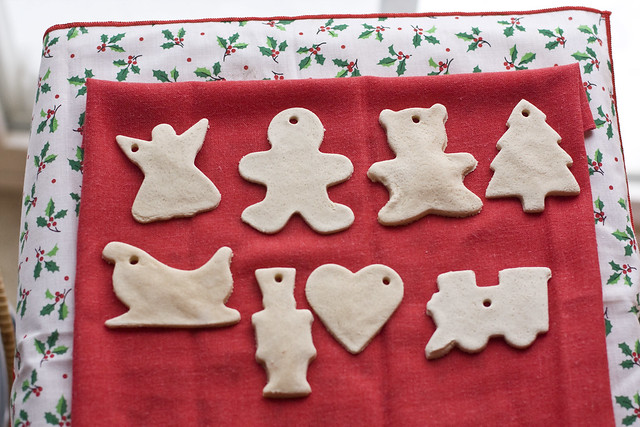
Here they are all naked from the oven

Ahem, excuse our artistic abilities, but I just love them! Zach even got in on the action.  He did the snowman, and the candy cane.
Salt Dough Ornaments

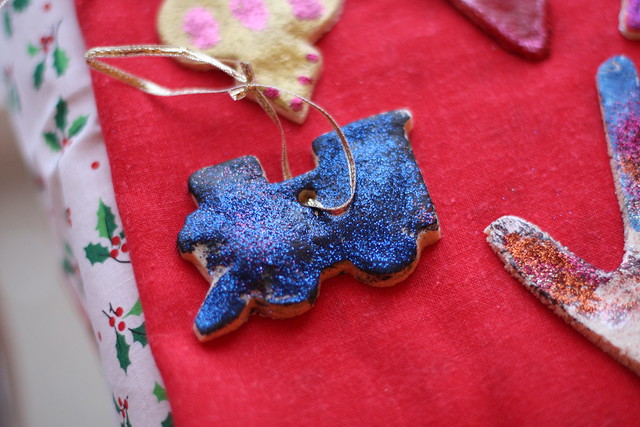
Of course Jack had to do the train

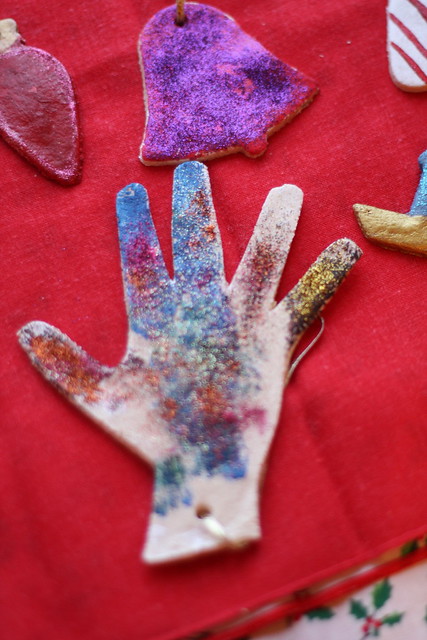
Jack's 4 year old hand.  It looks huge!

I think they make a very nice addition to our tree.


The next day I made another batch of dough so that I could do Jack's hand print.  I didn't do the dough in small batches, and the it turned out a bit funny.  I kept having to add a bit of salt, and a bit of flour.  So you might need to tinker with the dough to get it the right consistency.  I was also using my sea salt instead of fine salt so that might have made a difference too.  You can also add food coloring to your dough if you want.  

Jack really had so much fun, and I thought it was a great project.  It let Jack do his favorite thing. Bake!  It was nice because he got to use the cookie cutters, and we could mold the dough as many times as needed.  We didn't have to be as gentle as we would have needed to be if we were making actual sugar cookies.  

Need Me to Glue Something For You?

It is September and autumn  is in the air.  I have to say I think autumn is my favorite season.  I love the crisp coolness of the air, the crunch of the leaves, the colors, and especially the activities.  I almost forgot all those yummy smells, got to love the spiced candles.  I dug out my fall/halloween decoration tote from the garage last weekend. While, I have tons of Halloween decorations I was sadly lacking the fall decor.  I'm just not ready to put out the Halloween stuff so I turned to the internet for some help.  I found this The Fall Nesting Party at the Inspired Room blog.  Oh, so many lovely ideas on how to decorate for fall.  

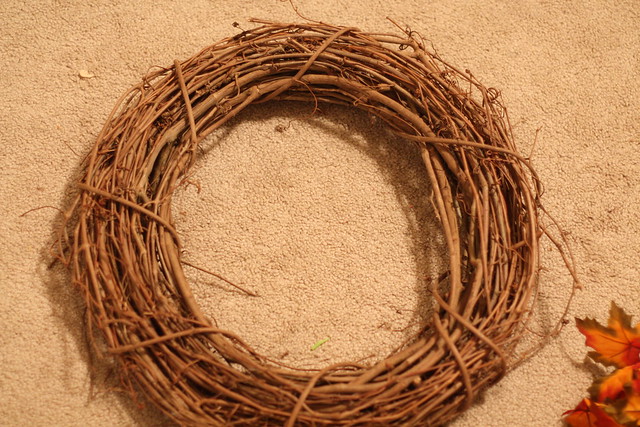
Jack and I made a late evening run up to Michaels which, Jack calls the pumpkin store, so I could grab all of my fall decor supplies.  I purchased my leaves, grapevine wreath, and a cheap hot glue gun.  I love crafts how did I not already own a hot glue gun?  

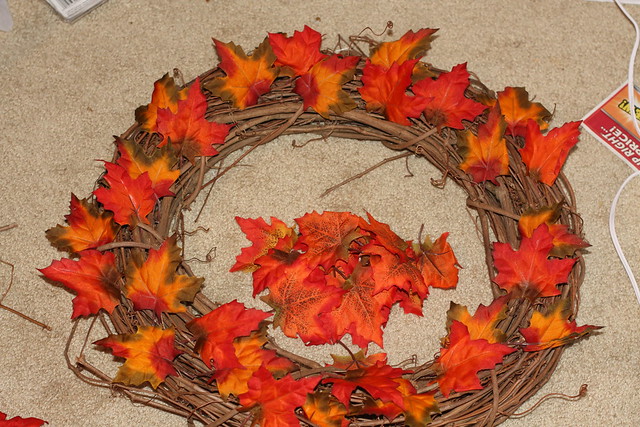
I was going to work on my project the next day while Jack was at school thus avoiding his wanting to help me, but I got busy doing other things instead.  So what better to start the project than late that night.  Here are a few cruddy pictures due to sucky lighting late at night while I worked on it.  

Fall 2010


Fall 2010


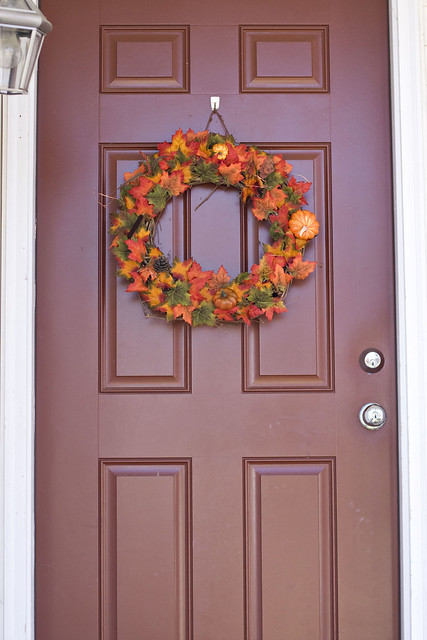
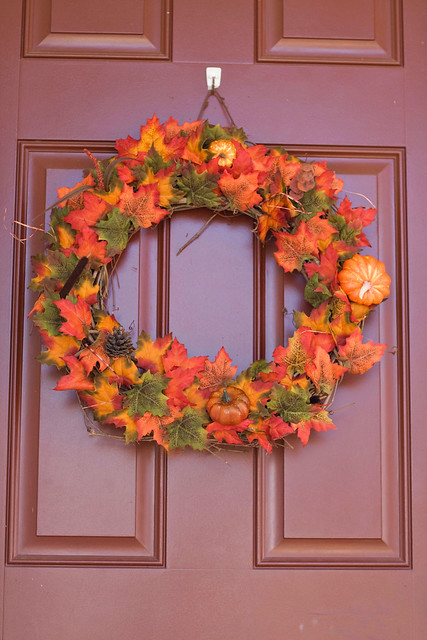
I just glued my leaves all over the wreath until it was mostly covered.  Then I stuck on some extra stuff like pumpkins and pinecones.  After, I was all finished Jack looked at it and said, "Mommy that is soooo beautiful." He really knows how to make his mama feel good.  

Here it is on our front door.  I love seeing it when I drive up to the house.  It was much cheaper than buying one already made, and it was really fun to do something crafty.  

Fall 2010

Fall 2010

Pinecone Bird Feeder

IMG_6725


IMG_6703

IMG_6717

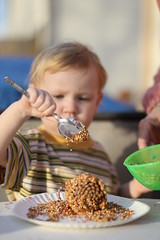
On one of our warm days Jack and I made pine cone bird feeders. With much help from Grandma Sugar. The name that Jack has lovingly bestowed onto Great Grandma. We covered the pine cones with peanut butter, and then Jack go to sprinkle the seed onto the cones. I mistakenly kept calling the seed sprinkles so Jack kept trying to eat some of it. I heard crunching a few times so I think he might have been successful. Anyway, it was a fun little two year old project. Then he played with his new sidewalk chalk.

Glitter Pumpkins


A long time ago I watched Martha Stewart do a craft project that included glitter on pumpkins for a fall decoration. I fell in love with this idea. Then a few years ago I was at my Grandma's house, and she had these fake fruit pears that were covered in glitter as her table centerpiece. They were beautiful, and she received many compliments on them.


Well, the other day we were going to take Jack to this Starbucks that has a water splash pad for kids outside. Fun water play for him, and yummy coffee for us. Then he started to seem like he was coming down with something so we scratched that idea. So, of course instead we drove to Michael's craft store because that is the next logical choice. Why I drag my husband there I don't know. You would think I would learn my lesson. I want to spend forever in there, and after a few minutes he is begging to leave.


I have been wanting to go to the craft store so that I can pick up some kind of fall decorations. Living in southern California I really miss the changing of the leaves. I had my heart set on making a fall wreath, but in the end it seemed like to would be more cost effective to just buy one already made. While I roamed around Zach, scared the living daylights out of our son with all of the Halloween stuff they had.


I came upon the Martha Stewart section, and I spotted the glitter. Instantly, I knew I wanted to make something with glitter. I was going to duplicate the glitter pears, but the pears were pretty costly, and I didn't know if they would turn out right. So, I settled on a fake pumpkin to test things out on. I had fun making my glitter pumpkin, and I was pleased with how it turned out. I want to try to find a few smaller ones to add to it.
Craft Supplies:
  • Martha Stewart Glitter or any type of fine glitter. I use Fire Opal
  • Glue-I used Aleene's original tacky glue
  • paint sponge
  • real or craft pumpkin
Paint half of the pumpkin with glue. Working on newspaper or a paper plate use a spoon to sprinkle the glitter onto the pumpkin. Let it dry for a few hours. Repeat steps to the other side of the pumpkin. It was recommended to paint the stems with brown paint, or use brown glitter. I just left mine alone. I used a craft pumpkin so that it will last me a few seasons. I haven't decided if it needs some sort of clear sealant.
Related Posts Plugin for WordPress, Blogger...